

I got the idea after flipping through the Garnet Hill catalog and I came across this beauty:

The only downside to the Garnet Hill version would be the cost: $58 plus shipping. So, count me out. The GH version are little knit packages with big wooden buttons with the numbers "burned" on. Well, I can knit, but man, oh man, would that take a long time. And I don't know how to solder (do I even know how to spell it - ha!). So, here is my easy (although a little time consuming) version.
Here is what you will need:
- 7 sheets of felt (I used red, lime green, and forest green)
- various buttons
- thread
- festive rope (~9 feet long)
- felt numbers (more on this later)
- matching yarn
- large needle - I used a tapestry needle

You should be able to get four of these out of each sheet of felt. Once you have cut out all twenty-five, yes, twenty-five, you get to move on to button holes.
I really hope you have a button-holer on your sewing machine. If not, you might want to use snaps or something else. If you have a button-holer, then get familiar with it. Once you know how to use it, it's an absolute cinch. I put my sewing machine right by my computer so I could read blogs while I "sewed." The size hole you make will depend entirely on the size of buttons you find. I just did all my holes to fit the largest buttons and it worked out great - that way I didn't have to plan ahead exactly how I was going to lay them out (and then somehow remember). You'll want your button holes centered in the triangle flap piece. Here is a closer up shot of the buttons I found.

It's hilarious, because normally I wouldn't be drawn to these styles at all, but somehow all together I really like them.
Anyhoo - the next step is to fold up your little pouches and sew them up. Match the four corners together and sew all the way around the outside leaving about 1/8" edge. Sew up and around the traingle "flap" too. I used white thread to contrast, but do whatever you like.
Next, sew on your buttons. I detest hand sewing, but even I can handle this. Super easy.
Okay, we're ready for those felt numbers. THIS was not easy. Every single craft store (online and elsewhere) sells felt letters, but not felt numbers. I almost went crazy. There is ONE exception. Michaels carries "Stick-it" brand felt letters and numbers (yes, you have to buy the letters too) for $4.99 IN STORES ONLY. I got by with 3 packs and had to make about 4 numbers (I think) by myself. If you have the coupons, it's not too expensive. Plus, you have all the letters left over for something else. Note to self: Think of a craft to use up all those letters and post tutorial. If you have a Cricut, consider making felt numbers for all of your friends.
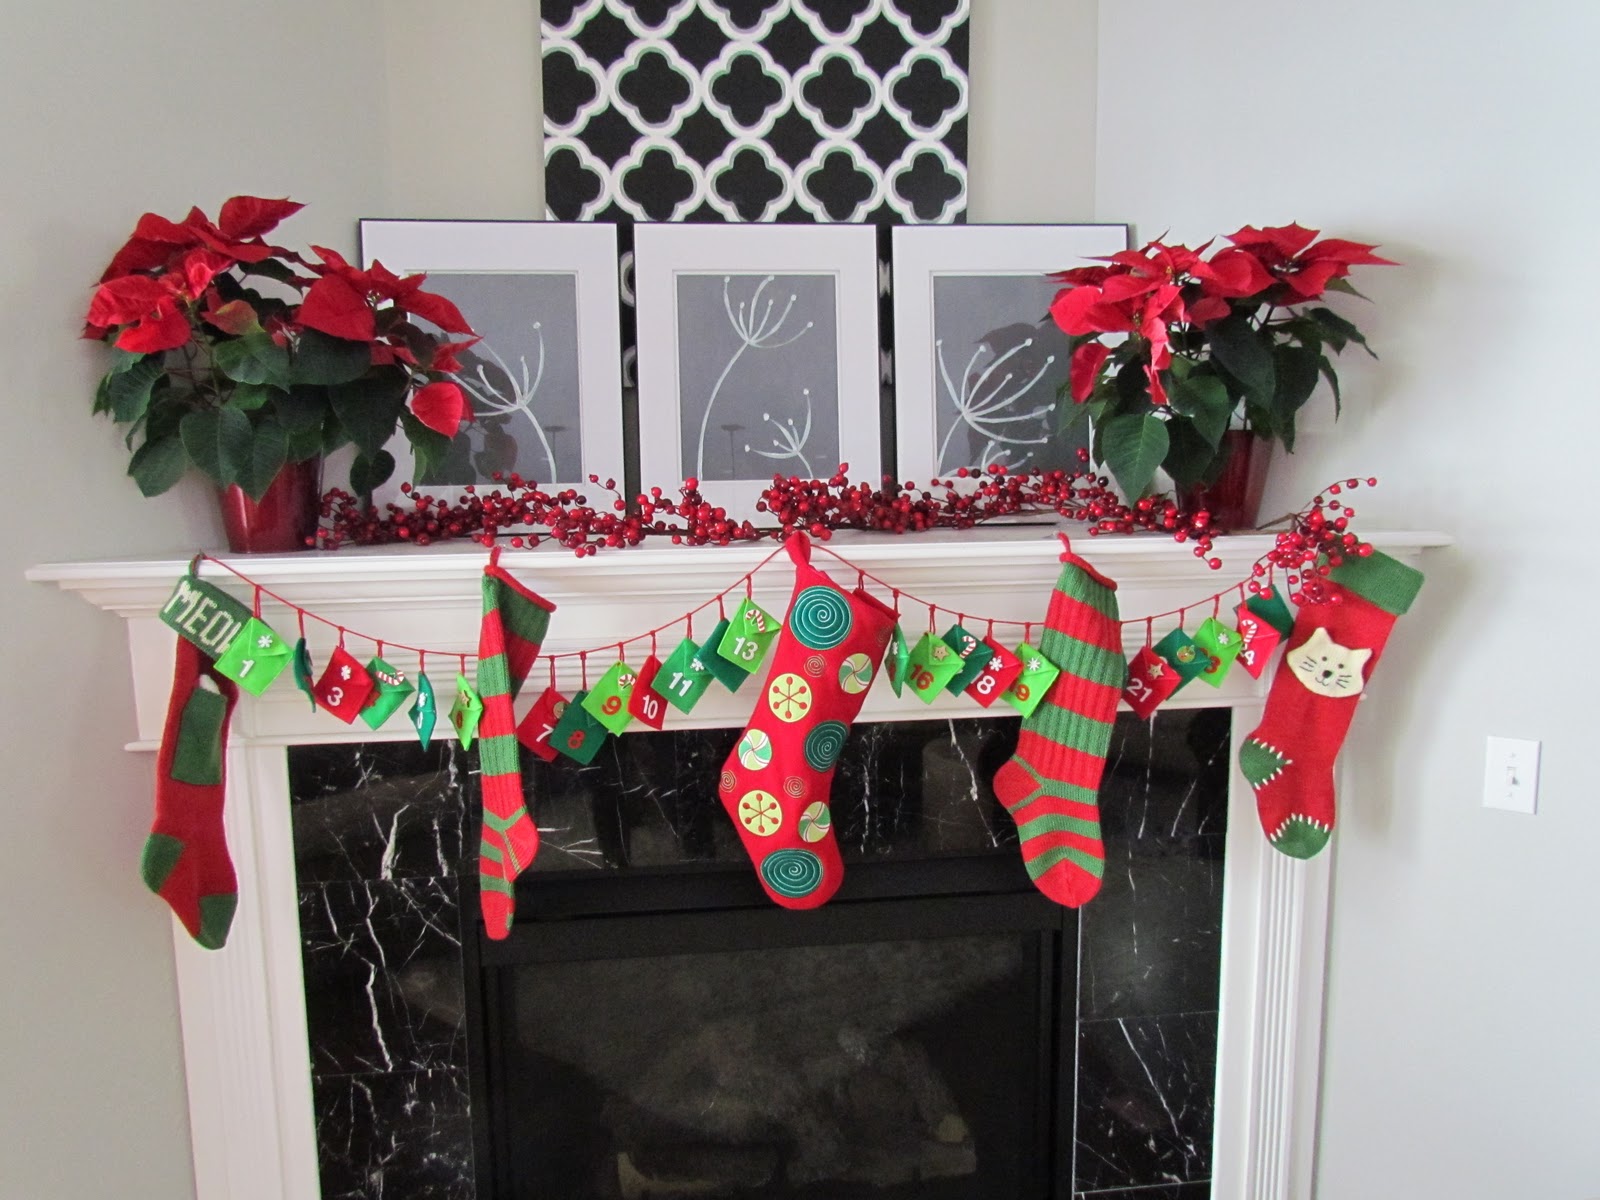
Last step! Thread some yarn through your large needle. Create a loop in the corner of your package to hang on the rope. Be sure to make the loop long enough that you will be able to pull the package through it in order to secure it to the rope. Once all your loops are made, hook them on to the rope (in numerical order, of course).
Now that it's all ready to go - isn't it December 1st yet? Layla keeps saying "Put candy in there." Sorry, little bean, a few more weeks!

Love this!
ReplyDeleteOh my gosh....gorgeous! I love this, Amy you are so talented!
ReplyDeleteAwesome job!!
ReplyDeleteI linked to you here: http://mcclurefamilyspace.blogspot.com/2010/11/advent-calender-ideas.html