
 |
| LOVE this fabric...it's corduroy too! |
- 3/4 yard of fabric
- thread
- hand sewing needle
- 20 minutes, seriously

Okay, so you may have noticed that this is A-Line. I happen to make everything A-Line, because I like the way it fits and it allows room to grow for the next season (if I'm really lucky...the next year).
 |
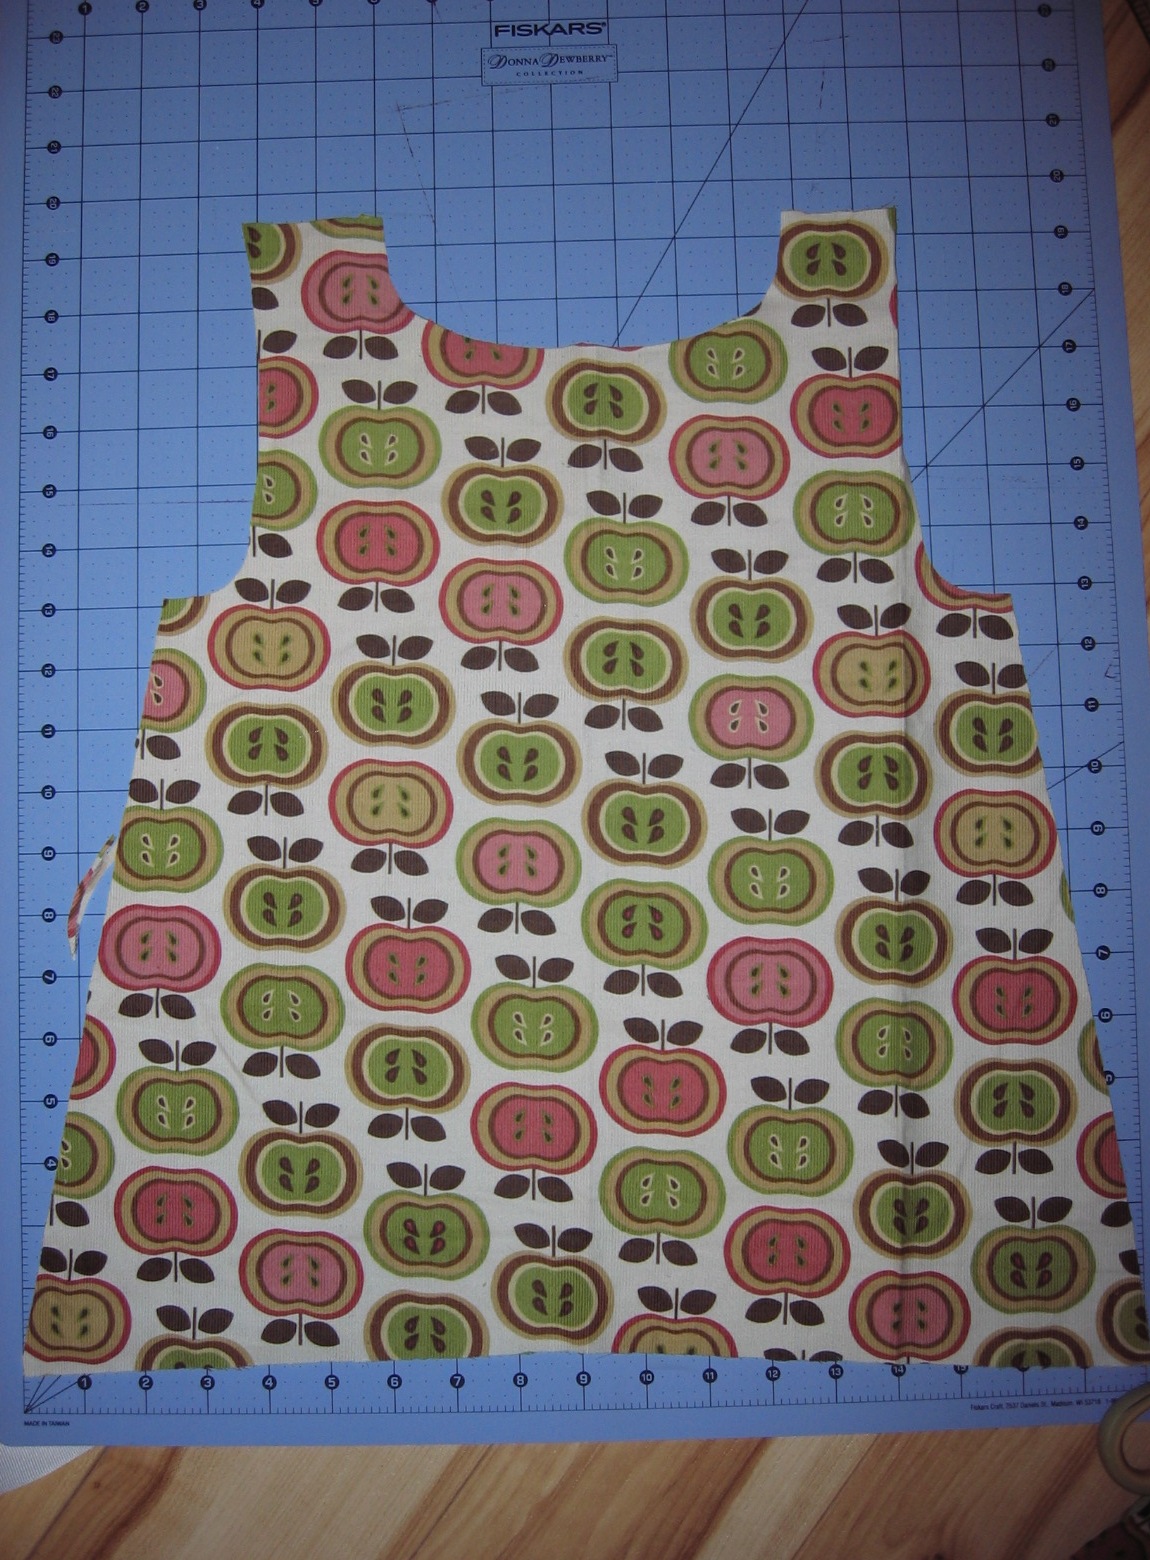
| Fabric piece |
So, once you have cut out your two pieces of fabric, you will want to lay them side by side and cut out your necklines. Keep in mind that this is a jumper and therefore meant to have another top under it, so go big. I like the front to scoop lower than the back on this one. You will want to keep 2.5" for the shoulder straps.

Now, we need to cut the arm holes. Again, since this is a jumper, I went big. I cut mine at 6", but you could easily get away with 5" for a 2T. Cut them while the fabric is still folded, so each side is the same. You can stack both pieces as well...makes it even easier. (Tip: Don't cut away any of the shoulder strap).
Now sew the two pieces together at the shoulder only. Reinforce your seams with a zig-zag stitch (or serge if you are lucky enough to have a serger).

Now lay out your garment flat...

And zig-zag stitch all the way around the neckline, so it looks like this:

Now, you'll want to fold it over and sew a "hem" all the way around the neckline. You can iron if you want, but I find it way more difficult than just being careful as I go (especially since it is curved). Don't double fold the hem since we want to gather it later and that will be too bulky. This works great, I promise.
Repeat the last two steps with the arm holes.

Sew up the sides of the tunic with the right sides together and reinforce the seam with a zig-zag again.
 |
| Almost there... |
Lets gather the fabric now. I did both the front and the back. If you want to do just the front, then I would make the back piece a little narrower when cutting the fabric.
I just grabbed the fabric and bunched it with my fingers until I was happy with it. I stuck a pin in ti and then compared it to the neck of another of Little Bean's dresses to make sure the size was right. If your child has, err, a large head, you may want to try it on them before sewing this up to make sure that it will still fit over it.

Once your gather is pinned, thread up the old sewing needle. I just simply went through the gathers about 1/4" down from the neckline. I went back through a couple of times to ensure that it wouldn't come undone. Tie a knot and that's it.
Finally, hem the bottom by folding over the fabric 1/4", iron down, fold over 1/4" again and stitch. Or, you can use the same method that we used above for the neck and arms.
Voila!

Seriously, wasn't that fast? I may have to make several of these. They jazz up a plain long sleeve t-shirt and leggings quite nicely, don't you think?

Enjoy! And this should be the last post with horrid pictures. Should be getting my new camera today!
As always, comments are appreciated!
very cute and i love her little pose
ReplyDelete~suzzy
yeah i very cute pose! And a cute top too!
ReplyDeleteAmazing! That I am totally going to try, since I now find myself the proud owner of about 1,000 yards of flannel!
ReplyDeleteLove this... can you tell me how to upsize to a 5T??? Any idea of measurements??? Many Thanks
ReplyDeleteSo sorry I am just now responding...the email got lost in my inbox. Upsizing is tricky. My best advice is to find a dress or long top that fits your daughter well and use that as your guide adding extra for the gathers and for your seams...this is what I usually do when I have an idea and want to make something I haven't tried before. Thanks for your comment!
ReplyDeleteThis is a great tutorial and very easy to do. I've mentioned and used it on my blog for my daughter's Halloween costume. Thanks for sharing it!
ReplyDeleteWhat material do you use for these and dresses etc? I'm in the UK and trying to find an equivalent that doesn't stretch when sewing! :-D
ReplyDelete